How to repot a houseplant
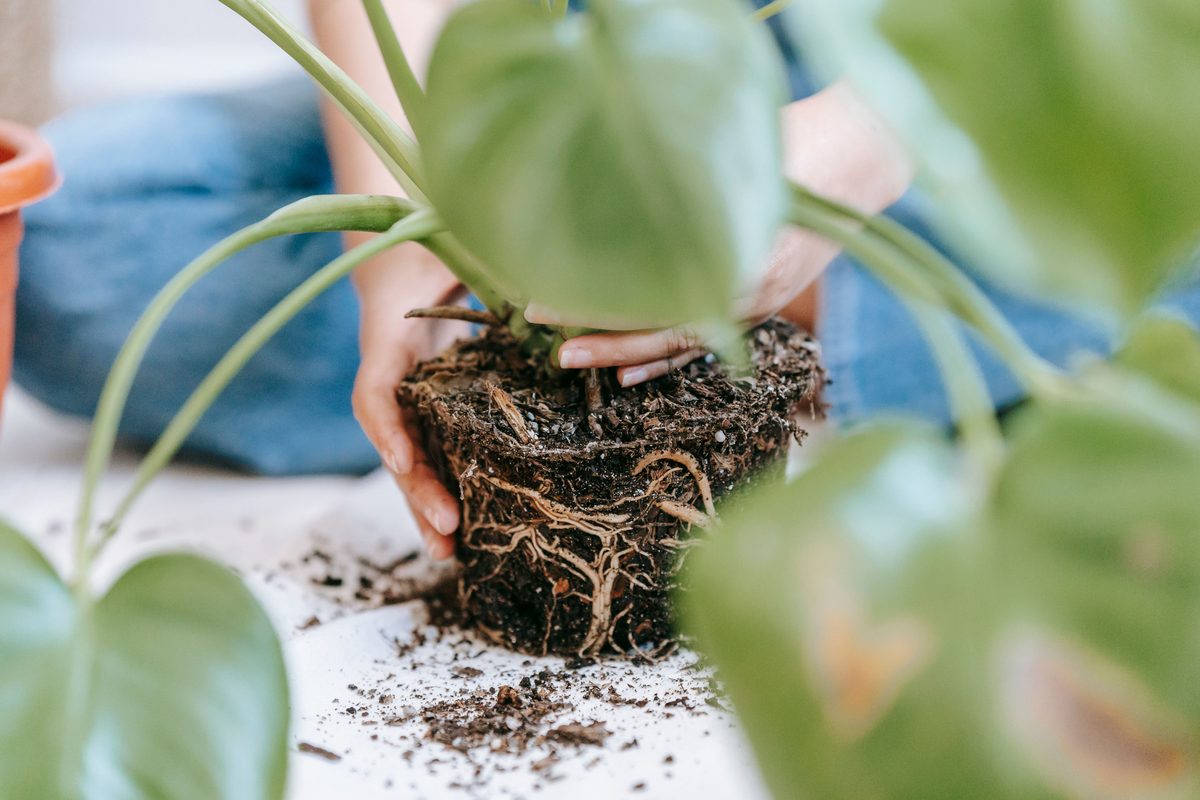
Photo: Teona Swift, Pexels License via Pexels
Repotting a houseplant comes down to choosing the right moment, a pot one size larger, and fresh potting mix. This guide walks through twenty-four steps, from the signs that a plant needs a new pot to the care it needs afterward. Roots circling tightly inside the pot, roots growing through the drainage holes, and soil that dries out unusually fast are the signs to look for. Fast-growing plants may need repotting annually, while slow-growing plants may require it every two to three years. The best time is spring, when the plant naturally and actively begins its seasonal growth.
When to do it
Timing starts with the plant itself. Roots circling tightly inside the pot or forming a solid mass around the root ball show that it needs a new pot, as do roots growing through the drainage holes. Soil that dries out unusually fast and frequent wilting shortly after watering are two more signs.
Fast-growing plants may need repotting annually, while slow-growing plants may require repotting every two to three years. The best time of year is spring, when a plant naturally and actively begins its seasonal growth. Late winter to early spring is also given as the optimal time to transplant, because less daylight makes houseplants somewhat dormant. Do not repot ailing or dormant plants, or those beginning to flower.
What you need
A pot with drainage holes comes first, because excess water needs a way to drain out and keep the mix from becoming waterlogged. Pick one that is 1 or 2 inches (2.5-5 cm) larger in diameter than the current pot. If the pot has been used before, you also need water and bleach to clean it thoroughly and sanitize it with one part bleach to nine parts water. A new clay pot is porous and should soak in water overnight before use.
For the potting mix, you need sphagnum peat, vermiculite and perlite, in a ratio of three parts, one part and one part. Add superphosphate fertilizer at about one teaspoon per quart of mix. You also need clean, sharp scissors for cutting into a root ball that is a solid mass of roots. Have water ready as well, because you water the plant before repotting, moisten the mix, and water again afterward.
Step by step
- Step 1
Check for signs that your plant has outgrown its pot
Watch for roots that circle tightly or form a solid mass, roots poking through the drainage holes, soil that dries out fast, and wilting soon after watering.
- Step 2
Expect to repot on a schedule tied to growth speed
Fast-growing plants may need a new pot every year, while slow growers can wait two to three years.
- Step 3
Choose spring as the time to repot
Spring is when the plant naturally begins its active seasonal growth.
- Step 4
Consider late winter to early spring as the optimal window instead
Lower daylight in winter keeps houseplants somewhat dormant going into this stretch.
- Step 5
Skip repotting a plant that is ailing or dormant
Also wait if the plant is just starting to flower.
- Step 6
Clean a pot you plan to reuse
Wash it well, then sanitize it with a mix of one part bleach to nine parts water.
- Step 7
Soak a new clay pot in water overnight before you use it
Do this for any porous container before planting.
- Step 8
Pick a pot 1 to 2 in (2.5 to 5 cm) larger across than the current pot
This gives roots room to grow without adding too much extra mix around them.
- Step 9
Use the one-third rule as an alternative way to size the new pot
A pot about one-third wider and deeper than the old one works well for most houseplants.
- Step 10
Avoid jumping to a much bigger pot
Extra mix in an oversized pot stays wet longer and raises the risk of root rot, so stick with a pot just one size up.
- Step 11
Water the plant in its old pot before you repot it
Let it rest for about one hour after watering before you move it.
- Step 12
Moisten the new potting mix before you use it
Pre-moistened mix absorbs water evenly once the plant is in its new pot.
- Step 13
Mix your own potting blend for most houseplants
Combine three parts sphagnum peat with one part vermiculite and one part perlite.
- Step 14
Add fertilizer to the potting mix before planting
Mix in about one teaspoon of superphosphate fertilizer for every quart (about 1 L) of potting mix.
- Step 15
Confirm the new pot has drainage holes
Holes let excess water escape so the mix does not stay waterlogged, which helps prevent root rot.
- Step 16
Cut into a solid mass of circling roots before repotting
Use clean, sharp scissors to cut about a half-inch (1.3 cm) into the healthy roots, spacing the cuts two to three inches (5 to 7.5 cm) apart around the root ball.
- Step 17
Loosen the root system by hand after any cutting
Gently disturb the roots so they are no longer densely matted or circling, which lets them grow out into the new mix.
- Step 18
Set the root ball at the right depth in the new pot
Add enough mix underneath so the top of the root ball sits about an inch (2.5 cm) below the rim.
- Step 19
Fill in around the sides as you raise the root ball
Keep adding mix until the top of the root ball is one to two inches (2.5 to 5 cm) below the rim of the new pot.
- Step 20
Leave a gap at the top of the pot once planting is done
About an inch (2.5 cm) of space between the mix and the rim gives you room for water and future growth.
- Step 21
Blend in fresh mix if you are reusing old soil
Add at least 50 percent new soil to refurbish the old mix.
- Step 22
Water the plant thoroughly once it is in its new pot
Keep watering until excess water drains freely out the bottom, then let the pot drain well.
- Step 23
Place the repotted plant in indirect light for the next few days
This reduces transplant shock while the roots settle into the new mix.
- Step 24
Hold off on fertilizer for at least two weeks after repotting
This gives the roots time to regenerate before they take on new feeding.
Mistakes to avoid
One mistake is choosing a pot much larger than the current one. It holds extra potting mix that stays too wet, which can lead to root rot, so choose a pot just one size larger. A pot without drainage holes causes a similar problem, since excess water cannot drain and the mix can become waterlogged.
Timing and root care can also go wrong. Repotting a plant that is ailing, dormant or beginning to flower goes against the guidance. Setting the root ball into the new pot without loosening it leaves the roots densely matted or circling, when they need to grow into the new potting mix. Filling the pot all the way to the top leaves no room for water or additional plant growth, so keep an inch of space.
The weeks after repotting matter too. Skipping the moistening step means the potting mix may not absorb water evenly. Fertilizing too soon is another error, because you should not fertilize for at least two weeks after repotting, to allow roots to regenerate. Strong light right away is best avoided, since a few days in indirect light reduces transplant shock.
How this page was made
- Written with AI assistance from the sources listed on this page. AI is never the source of a fact.